
How to Perfectly Paint Letters on Canvas Every. Single. Time.
This trick changed the game for me. And I'm here to share how to transfer quotes on canvas and make them look perfect every time!

I picked up a few crafting tricks when I was in college. Greek life will do that to you!
So, when you craft often you figure out some really cool ways to make crafting easier and create a more professional looking product. Since painting canvases is both fun and affordable, it has become one of my crafts of choice. And if you don’t like something you painted, you can just paint over it!
Plus, if you don’t like something you painted, you can just paint over it!
Let me give you a little background:
When I paint letters by hand it looks like a toddler painted it. I have zero skill when it comes to painting letters without some kind of guide. So beautiful calligraphy quotes seemed pretty out of the question for me.
I studied graphic design in school and figured there had to be a way for me to design the quote on a computer, print it out and transfer it. Enter: chalk and graphite.
I know I say this a lot, but it was a game changer in my crafting game. Seriously. Give it a try.
Supplies
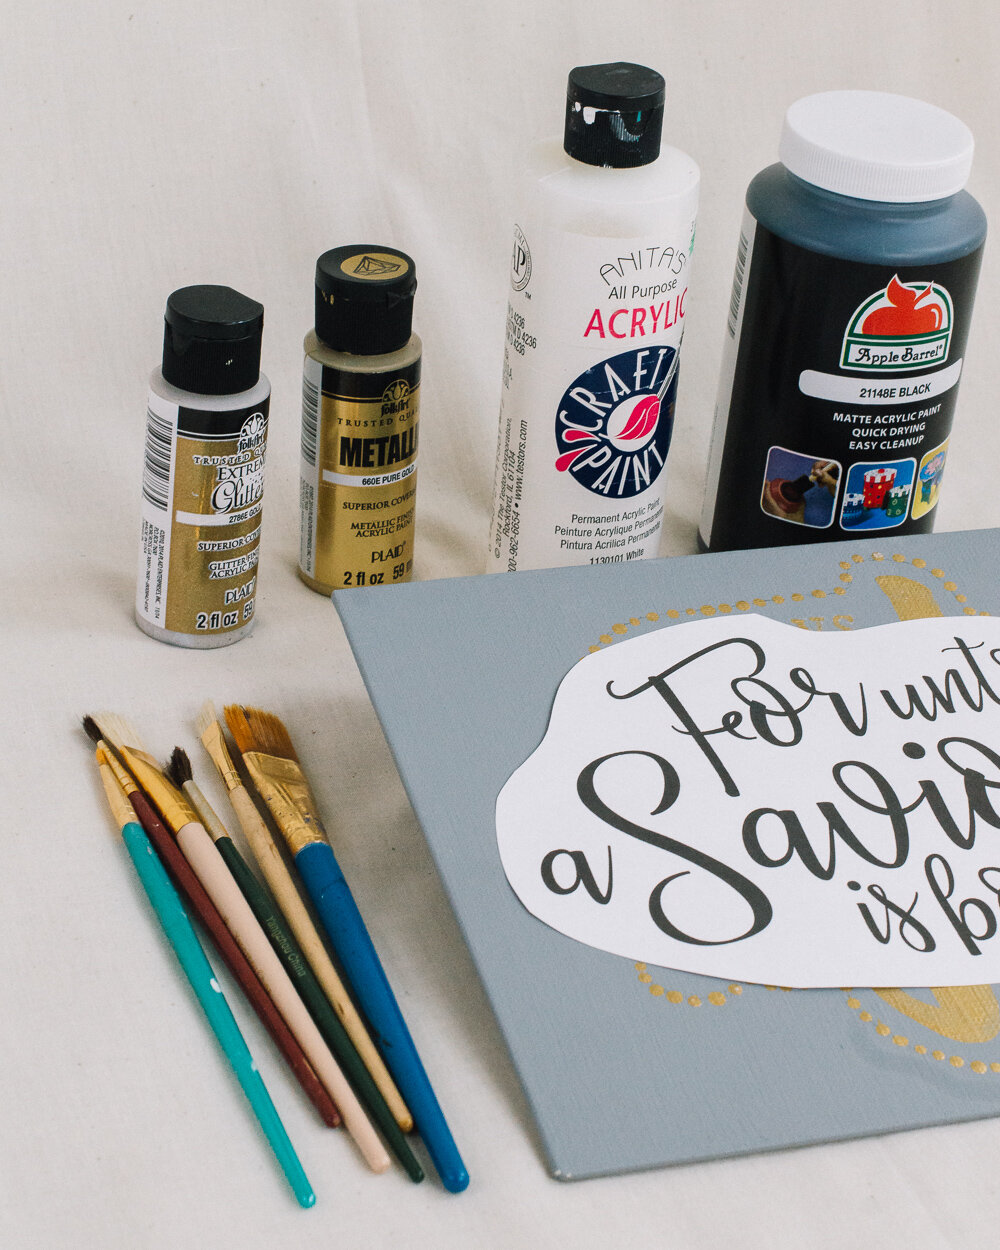
Acrylic paint (You'll need at least 2 colors)
Canvas (I used an 8x10" canvas)
Paintbrushes
Cup of water to clean brushes
Paper (for either your printed design or hand drawn design)
Scissors
Tape
Pen/pencil
Here are the steps you can use to create your own beautiful calligraphy quotes on your next project!
1. Design
I like to use either Adobe Illustrator or Canvas for this part. But maybe you're a pro at Word or can draw with a pencil and not paint.
Whatever your design program of choice is, is perfect! Personally, I flip between Canva and Illustrator.
Don't know where to start? Canva is probably your best option! It's user-friendly and FREE. And if you have zero design skills, they have plenty of text templates and such for you to work from!
Once you've figured out exactly what you want your quote to look like, print that sucker off.
2. Paint a base coat onto your canvas
This is arguably the most relaxing part of a project. Pick your color and start painting the color onto the surface. If you are doing a solid color, this is going to take a couple of coats. I'd say 2-3 depending on the color.
And if you are doing a color transition or pattern, I'd start with a solid color base and work from there.
3. Prep your printed design
This step will depend a little bit on the size canvas you have chosen. I had an 8"x10" canvas so I printed my design on regular computer paper. If you have something much bigger, I would suggest printing each word out seperately for this step. Or saving the document as a PDF and printing it as a poster
If you have one print out, cut around your text leaving a 1/2" or so border around it as you do so. If you have multiple printouts, cut around each block of text leaving 1/2" as well.
4. Chalk it up!
Now, flip each piece of your template over and rub the back with either chalk or graphite. Make sure to go over the edges of all of your text.
If you are painting on a dark background, chalk is your best option. Graphite is another option for a lighter background if you can't see the chalk as well. Chalk is my first option with technique.
This is will leave a removable mark that acts as your stencil for painting.
5. Place design & trace it
Note: At this point, if you are using a traditional canvas, you are going to want to place a piece of cardboard or a book or some other hard surface underneath it. This will prevent you from stretching too much. If you are using a canvas panel, you're good to go!
Now, take your design that has either the chalk or graphite on the back, place it on your canvas and tape it down so it stays long enough for you to trace it.
Use a pen to trace around the edge of your text. This will press the chalk onto the canvas, giving you a stencil to paint in.
6. Paint text
Now, using whatever color you want for your text, paint a thin layer inside the lines of your text. If you used graphite for your stencil make sure that you don't paint over these lines!
Let the layer dry completely!
7. Wipe away chalk
Your canvas needs to be 100% bone dry for this step. If it isn't. WAIT. I promise that this is essential.
If you used chalk: Take a wet wipe or damp paper towel and wipe away the excess dust.
If you used graphite: Take an eraser and gently erase away the excess graphite. I would recommend using a higher quality white eraser for this step to avoid getting those ugly grayish pink marks left on your canvas. That wouldn't be pretty!
8. Finish painting
At this point, you should have a pretty canvas with text ready to be completely filled in with paint!
This is going to take quite a few coats of paint, but it will be worth it!
Once your pretty painted canvas is completely dry and finished, give it one last wipe down with a wet wipe or damp paper towel to make sure it squeaky clean!
This text transfer technique is pretty addicting! Once I figured out I could make professional looking canvases without worrying about adding the title of "calligrapher" to my arsenal, I was hooked!
Work smarter, not harder, am I right?
Did you try this technique? Share your finished product with us in the comments below so we can see your masterpiece!